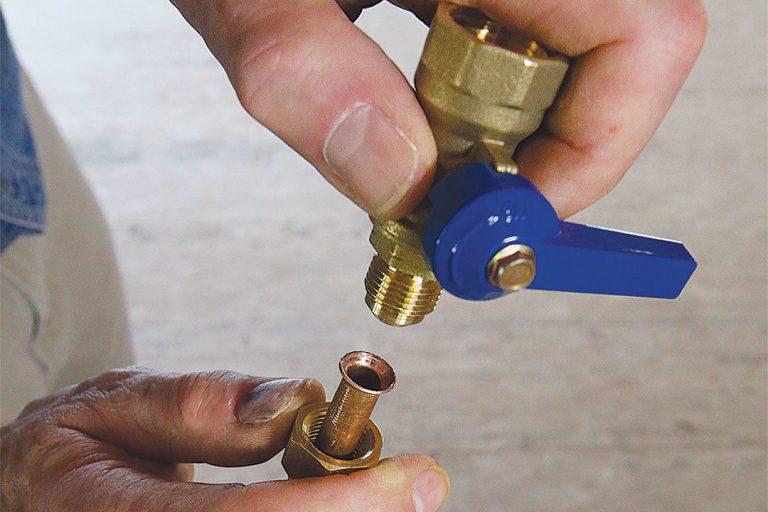
The solution to the problem is to cut a small section of the tube to repair your unit, the smaller, the better, using the notch that the tube cutter has on the rollers, which is designed for this purpose, “Cut flares” with this, we manage to cut only about 0.4 to 0, 6 cm so if we have left some margin, we will not have problems with the tube. We drill to remove burrs if necessary, and some larger cutters have a reamer included. We place the thread, we flare, and see the final result; the flare must be straight and not present cracks.
Before tightening, we check that without forcing the pipe, the flare sits perfectly in the valve. We hold the pipe with one hand to not deform the flare, and with the other, we tighten the thread. To finish fixing it with a wrench, we must tighten it firmly without breaking or cracking the flare. We make the other flare and place the second pipe. We connect the 5-wire hose from the outdoor unit and the 2-wire cable from the thermostat.
We continue the work with the threads of the indoor unit since, in this case, the channel used is comprehensive, and we have space; we make some curves to have a reserve tube. We disassemble the plug threads of the indoor unit, said unit in most cases is charged with gas under pressure, which when removing the thread is lost, the reason is so that moisture does not enter the circuit; therefore, they do not rust or degrade the tubes internally and let us be sure that it does not have losses. The indoor unit’s soldered threads, being small, tend to file, so it may be necessary to use a pressure wrench to clamp them.
You can also use the home air conditioning repairs to solve this issue.

